
Framing
Make it stand out
Whatever it is, the way you tell your story online can make all the difference.
There is something so satisfying about seeing a project through from beginning to end, from raw materials to finished product. All right, I don’t grow the flax and weave the linen for my canvases, and I also use mass produced paper, but I do stretch my own canvases using raw linen, rabbit skin glue and wood from the d-i-y shop, which is the subject of a previous blog post. Then comes the painting, and at the other end of the process comes the framing of the finished painting. There is a current fashion for hanging canvasses without frames, and this is fine, especially for those larger canvasses that are stretched over fairly substantial timbers of, say, 45 x 45mm thickness. (If you’re going to do this, then I think it’s particularly important to to continue the painting around the sides of the stretcher so that no plain canvas or primer is visible). But paintings done on paper will always need frames, and even those done on smaller, thinner stretched canvases will in my opinion benefit from being set in a suitable frame. So here’s how I do this; I’ll describe two methods: one for paintings on paper, and one for stretched canvases.
First a word about tools and materials. Before I started framing my paintings I watched several ‘how to’ videos on YouTube. Most of these were by American vloggers who assumed that everyone has a large carpentry workshop with an infinite collection of power tools. The fact is that I have a small shed, which is far too full of bikes and junk to be used as a workshop, so I do most of the work outside in my small back yard, hoping that the rain will hold off and the neighbours won’t complain. When I made my first frame I used a hand mitre saw and no power tools. Now I have an electric mitre saw, a hand-held router with various router bits with which I can cut decorative profiles, orbital and belt sanders and an electric plane. The plane is nice but not essential. A good staple gun and a set square are essential, as is some wood glue, and a few clamps. All of this came from my local hardware store, and also gets used for various d-i-y jobs around the house. I don’t have any tools that are made specifically for picture framing.
Oil paintings don’t have to be framed behind glass. I have heard that they fare better over time if they can breathe the fresh air, though I can’t vouch for the truth of this. Framing behind glass may also cause problems with glare and reflections depending on what type of glass is used and the lighting conditions under which the painting is hung. So neither of my methods involves glass. Neither do they call for the kind of mounting board that would be essential when framing water colours.
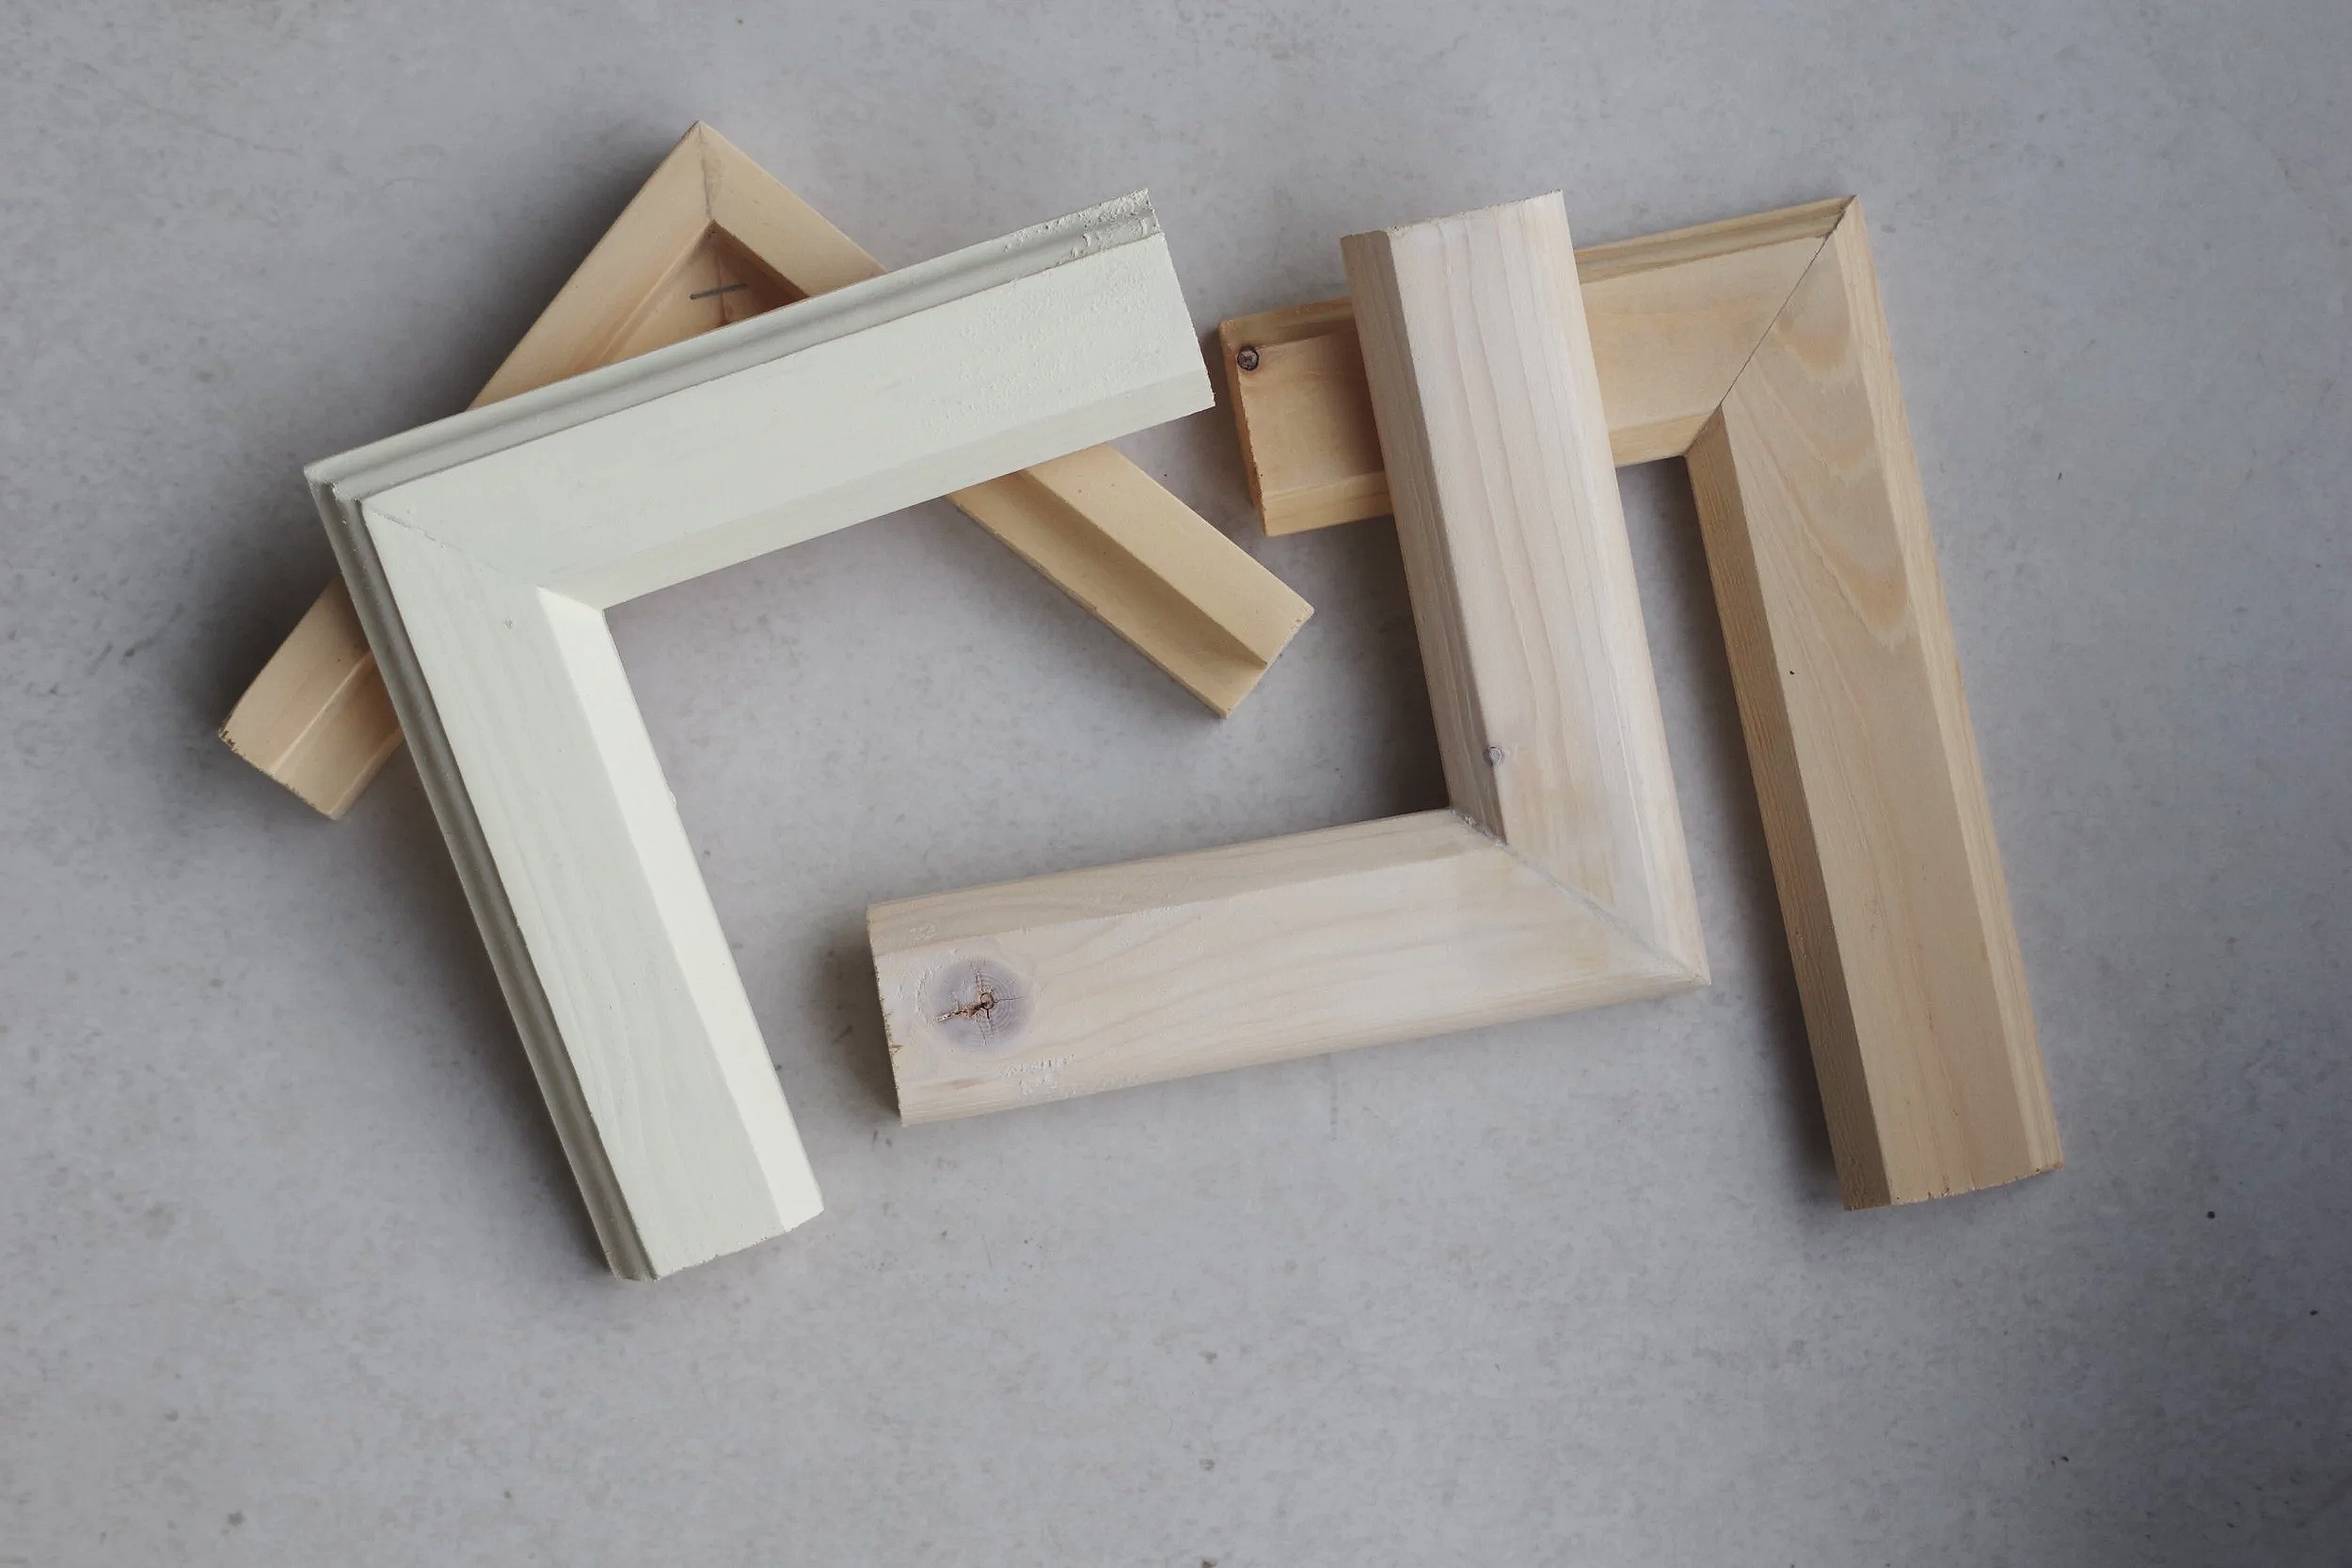
Firstly I’ll describe my method for framing paintings done on paper. Don’t look down your nose at paintings done on paper, by the way. Proper oil painting paper is an excellent surface on which to paint, and can have archival permanence. Paper being cheaper and more convenient than canvas, I use it a lot, sometimes for sketches or exercises. It can also be stored or shipped more easily than stretched canvases or boards. If a painting on paper turns out to be unsuccessful this is no great loss, but sometimes a sketch might turn out to be so good as to be worthy of framing, which is an unexpected bonus.
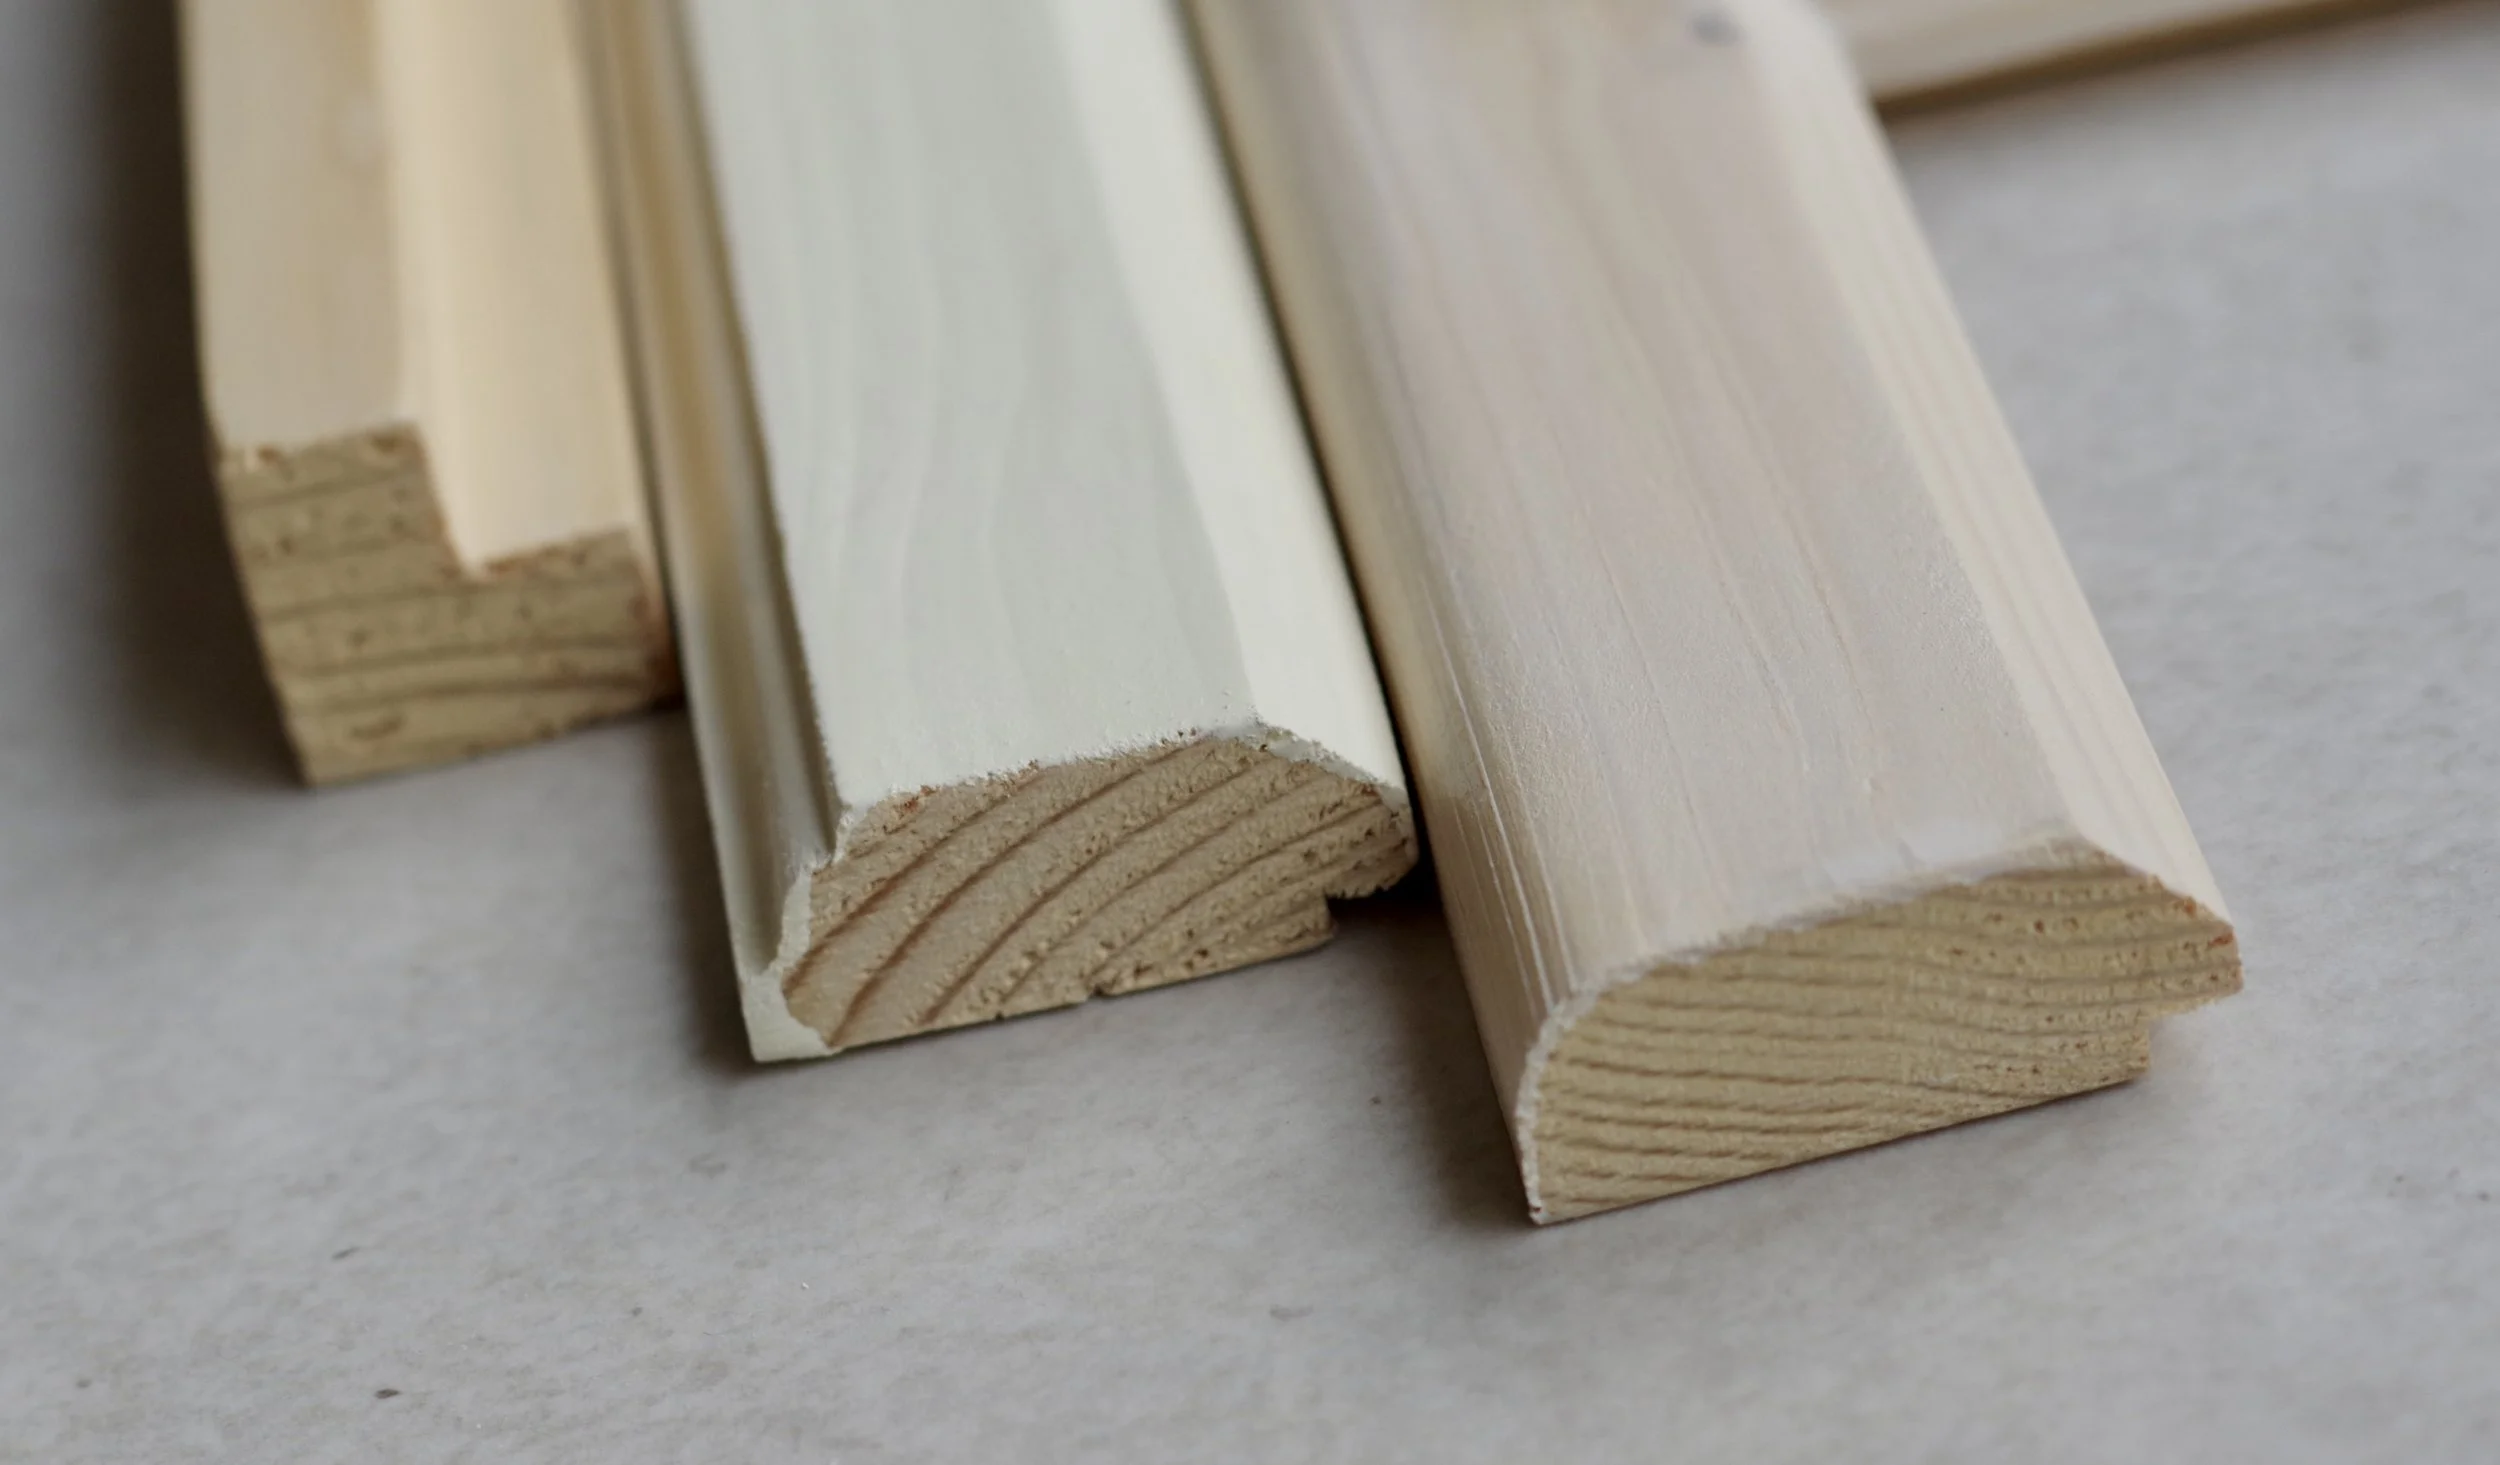
This photo shows various profiles that can be cut with a router. I usually buy wood that is 44 x 18mm thick in lengths of 2.7 metres, though smaller, thinner stripwood can also be used, and would probably be preferred for smaller paintings. On some of my smaller paintings I’ve used strips of wood that were 18 x 27mm thick.
So here’s what I do. First I cut a piece of MDF (medium density fibreboard) to the size of the painting to be framed. I usually use 4mm thick MDF. 6mm would also be OK, but anything thicker would be unnecessarily heavy and cumbersome. I then use the router to cut the desired profiles on a length of stripwood. Decorative profiles along what will be the front edges of the frame are optional and a matter of taste, but cutting a rabbet along what will be the back edge is essential. This rabbet needs to be as deep as the thickness of the MDF and wide enough to hold the painting and the MDF in place. I then use the mitre saw to cut the strip wood to size. I then glue the pieces together with wood glue and fasten them with staples, using the set square to ensure that the corners are all 90°. To be sure you end up with a straight rectangle you can also measure the frame diagonally. Both diagonals should be the same. The frame can be held in place with clamps while the glue dries, or just held down with heavy weights. The MDF board should then fit snugly into the rabbets at the back of the frame. The painting fits in between the MDF and the frame, and the MDF fastened to the frame with some strong sticky tape.
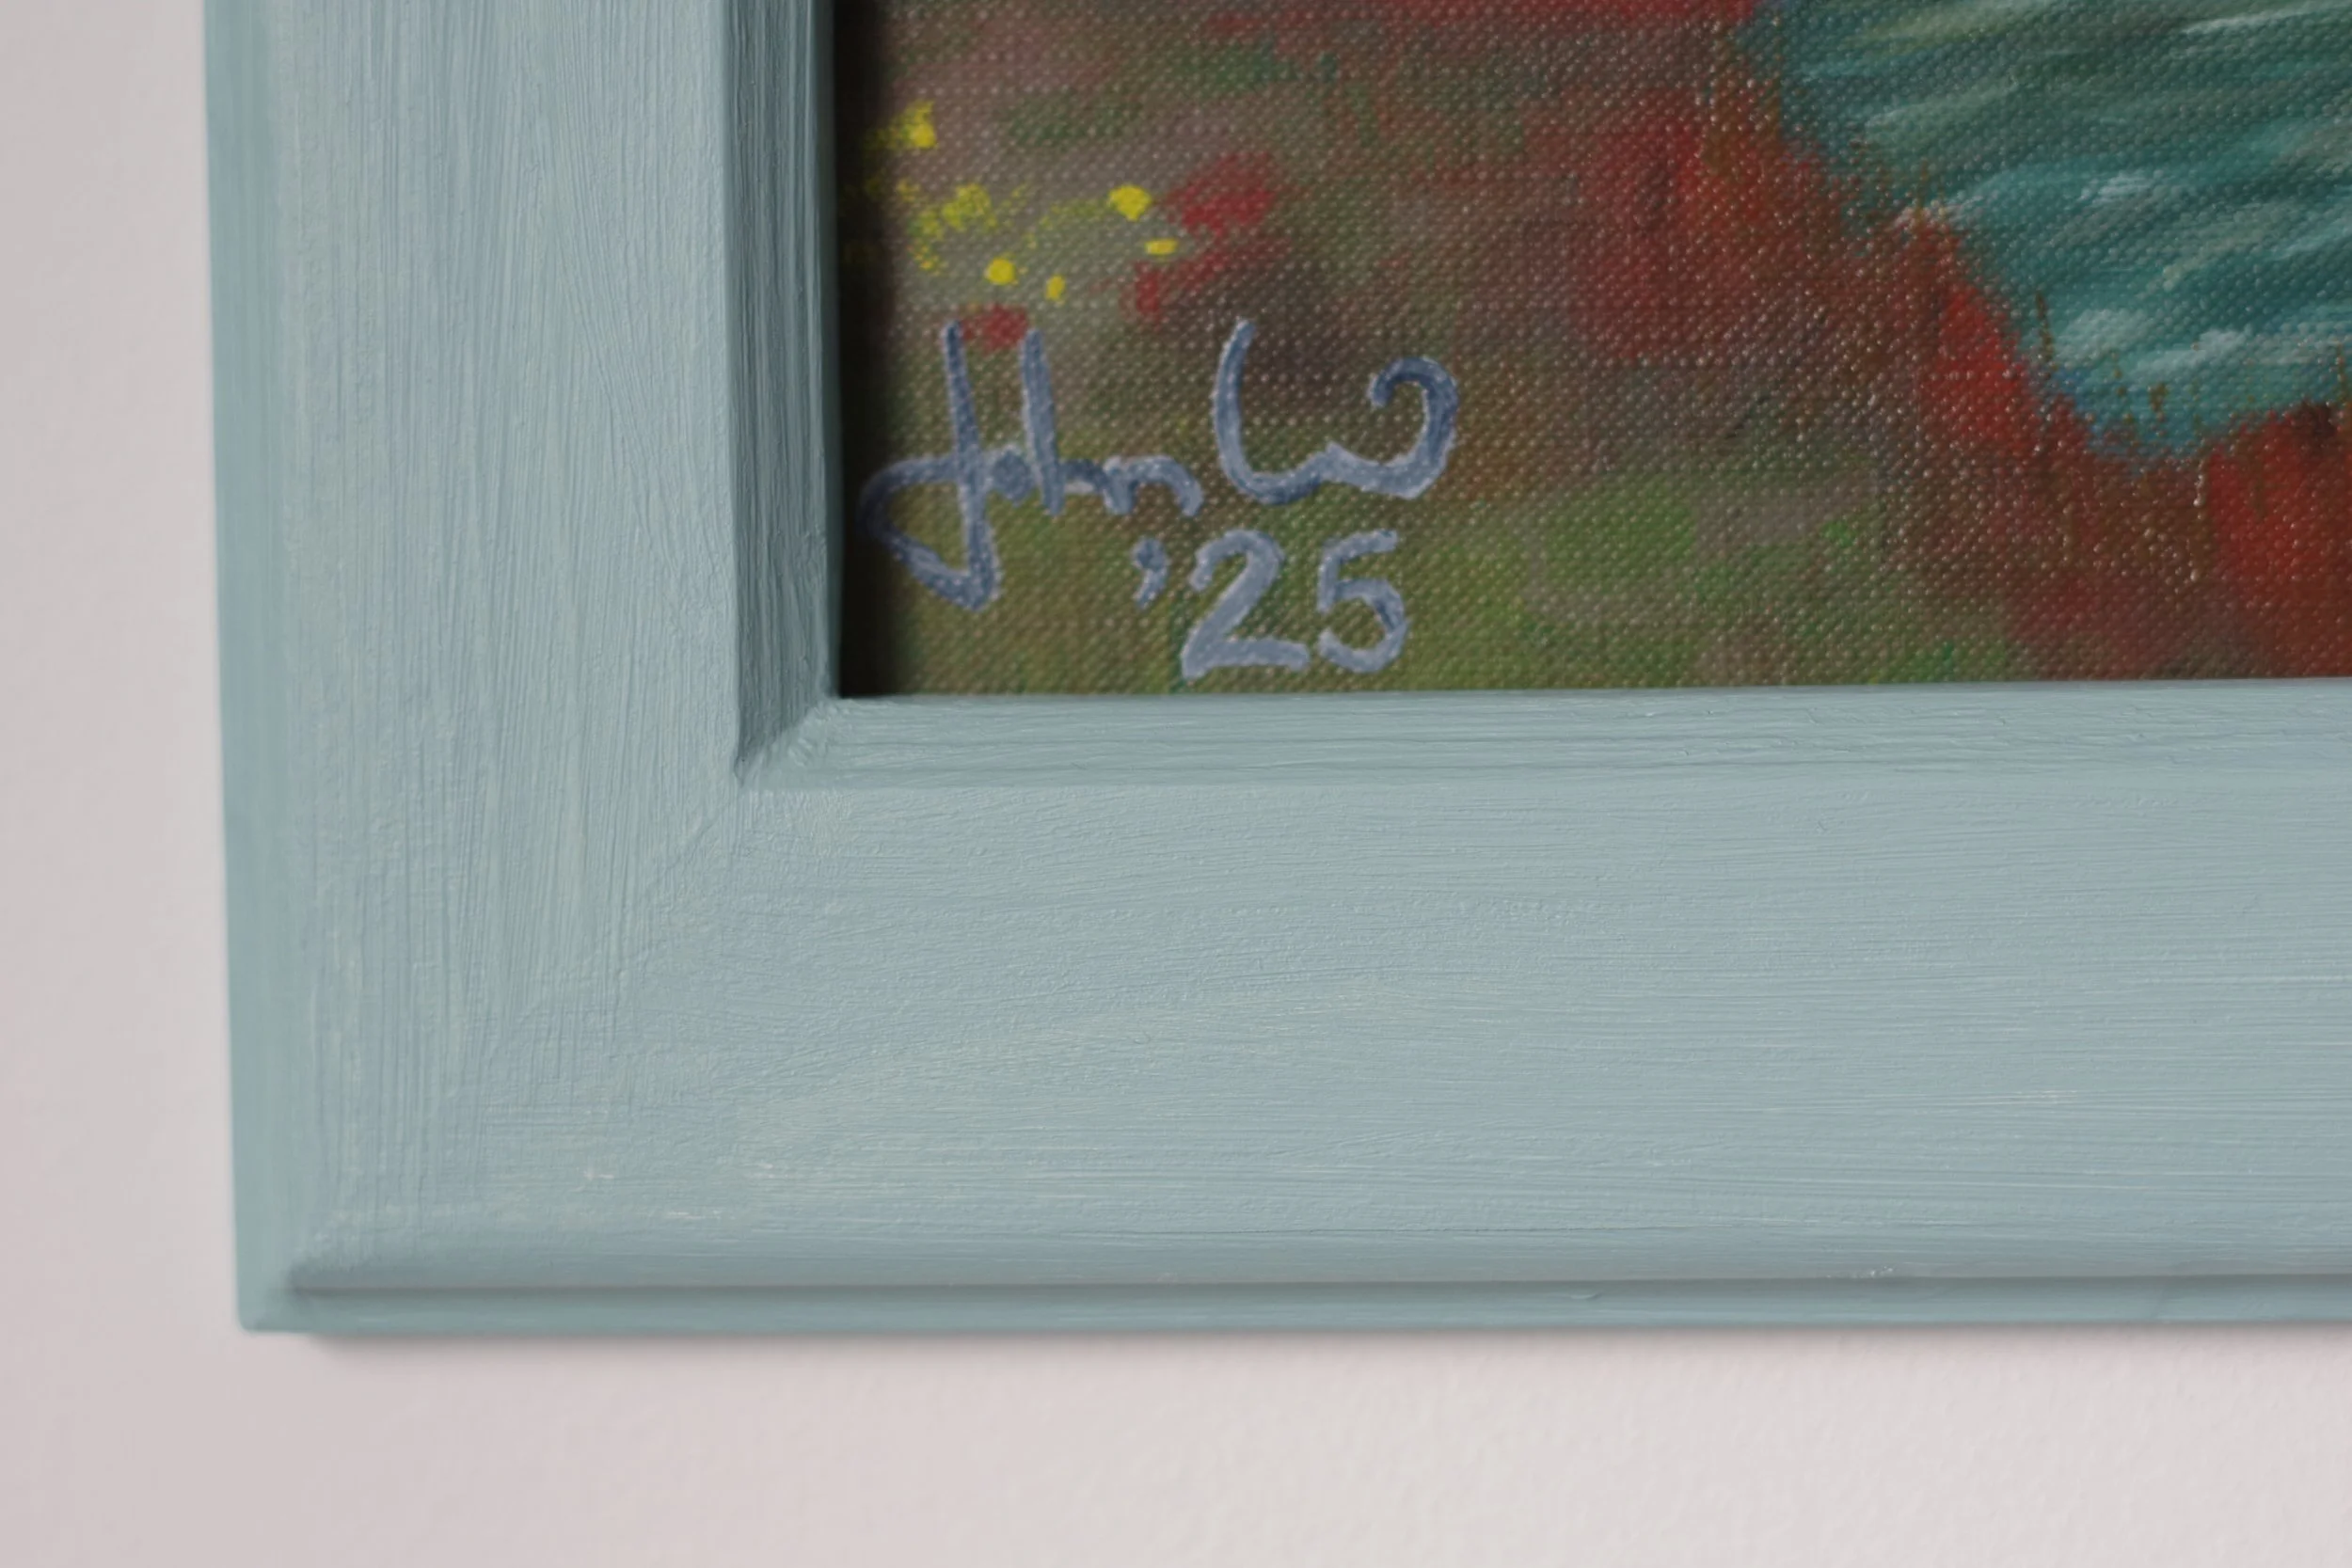
This painting, painted on paper, is sandwiched between the frame and a sheet of MDF board of the same size, which is taped to the back of the frame.
When I started using this method I would glue the painting to the MDF, but I no longer do this. It isn’t necessary, and there is a risk that it can result in stubborn air bubbles forming between the paper and the MDF. Not glueing the painting to the MDF also means that you can easily remove it if you want to reframe it, roll it up for shipping, or just store it flat.
This method can also be used when painting directly onto primed MDF, plywood or any other kind of thin, rigid surface, which I have occasionally done. One painting surface which I haven’t used for a while is cotton or linen glued to MDF. This makes a surface that is very enjoyable to use, and suitable for this kind of framing.
When framing a stretched canvas I make a ‘floating’ frame, so called because it creates the impression that the painting is floating with no visible means of support within the frame. To do this I first make a rectangular subframe that is about 15mm larger in both directions than the canvas to be framed. I use fairly substantial timbers for this; about 35mm x 12mm is ideal. Mitred corners are stronger and tidier, but as this part of the frame will be out of sight when the whole is completed, you might also get away without mitring. Again I fasten the corners with wood glue and staples, but if you want to use nails or screws as well this is OK, as they won’t be visible on the finished product.
The next stage requires thin stripwood; I find a thickness of 7mm to be ideal.The strips need to be at least as wide as the total thickness of the subframe and the stretched canvas added together. I’m looking at a painting that I framed a while ago, and I see that the total thickness of the canvas plus subframe is 30mm. The stripwood that I’ve used has a width of 35mm, so if the rear edge of this stripwood is placed flush with the back of the subframe, it’s front edge will project 5mm beyond the surface of the painting. I cut these strips of wood (mitred corners again) so that they will surround the subframe perfectly. (All right, mine aren’t always perfect, and I often have to resort to filling little holes and cracks with wood filler, but you know what I mean). I glue these strips to the subframe with the back edges flush.
By the way, all of the measurements that I’ve given in this post are ones that I find useful and that create an appearance that I find satisfying, but they don’t have to be followed slavishly. Most of my paintings are fairly small, around 40cm x 50cm or smaller. For larger paintings you may prefer wood that is thicker and wider. For example, for some of my larger paintings I’ve used 54mm wide stripwood for the outer frames.
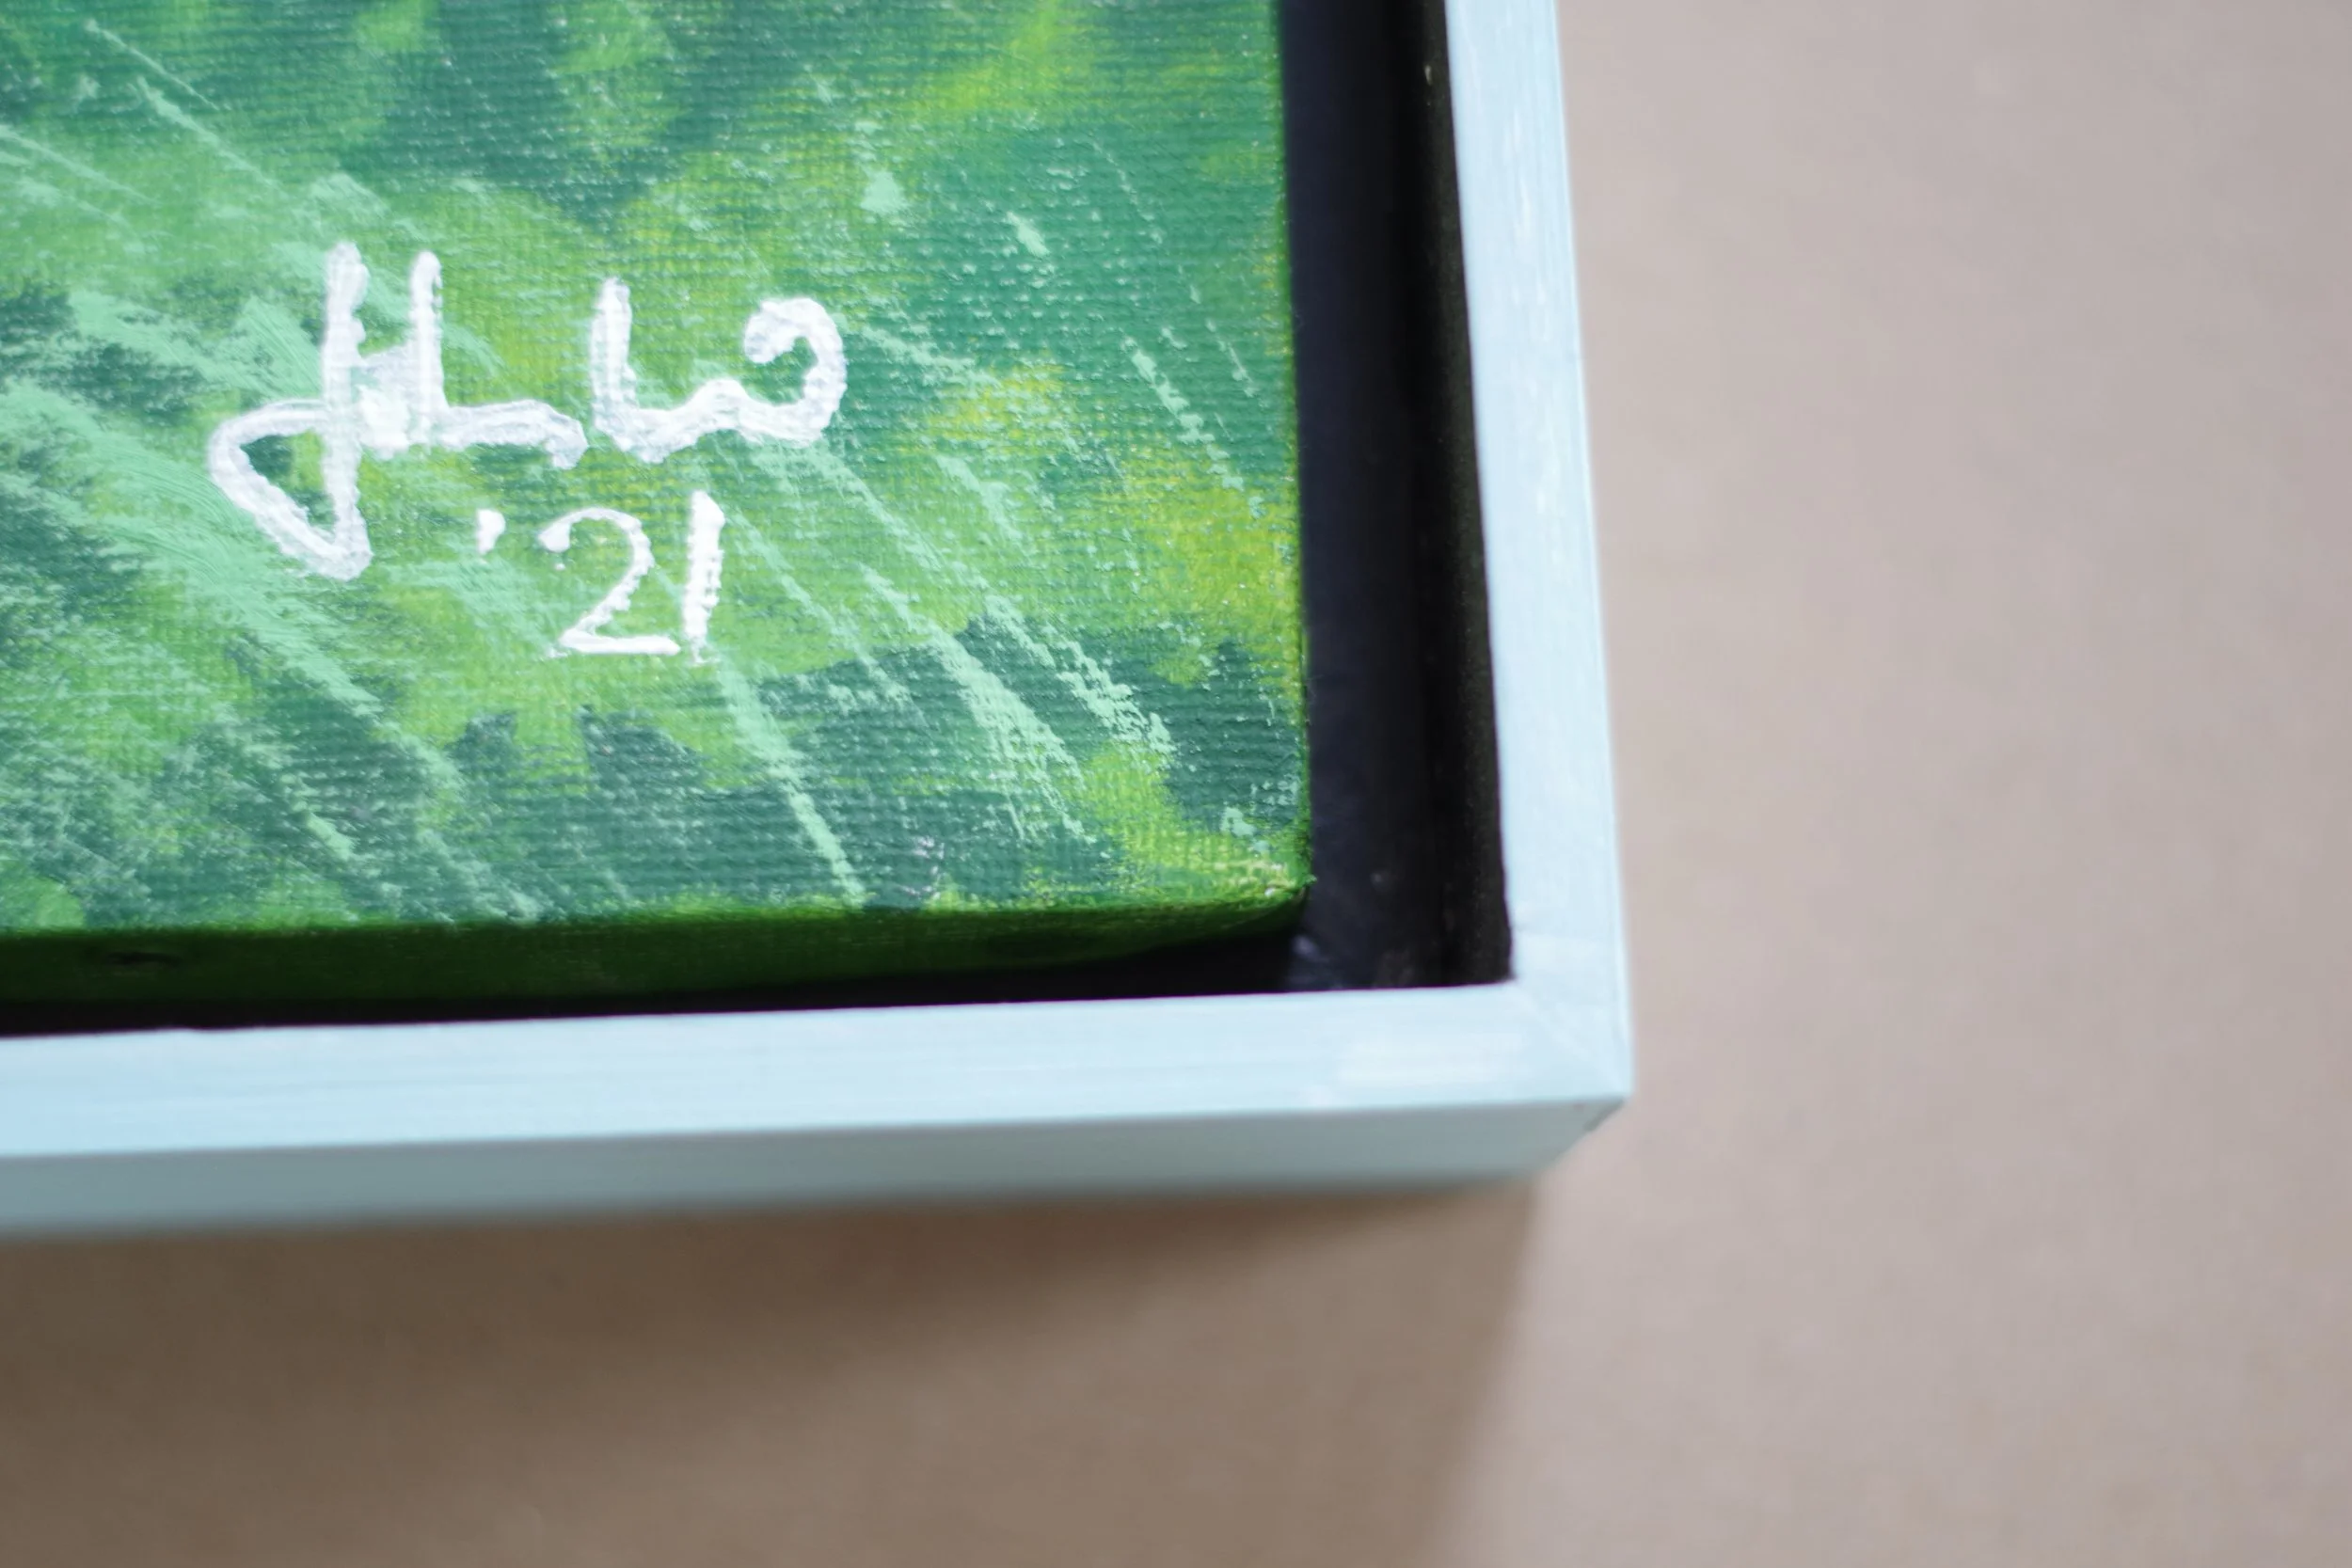
This is a painting done on a stretched canvas and framed in a ‘floating’ frame. The back and inside of the frame are painted black, while the front edge and outside of the outer frame are of a lighter colour.
I now have a frame into which the painting will fit, but before doing this I first paint the visible parts of the subframe and the inside of the outer frame black. Black is not compulsory; you can use any colour you like, but I find that black, or a colour very close to is, will better achieve that ‘floating’ impression that we’re after. The outside and the front edge of the outer frame can be painted any colour, or not at all according to your taste.
Lastly I screw the the painting into place, using spacers (usually offcuts from the 7mm thick stripwood) to ensure that the painting is positioned centrally within the frame, and being careful to avoid using screws so long that they will completely penetrate the stretcher bars and the canvas.
I like to give all of my frames a fine sanding once they’re finished, and also to fill any knot holes, cracks or other depressions with wood filler. Whether you paint or varnish them, and in what colour, is a matter of taste. I left some of my early efforts unpainted because I liked the look of the wood grain, but I’m getting a bit tired of this look now, and have taken to painting my frames in a colour that will be in harmony with the painting or with the surrounding décor.